Difference between revisions of "Building a Panel With Recessed Switches"
(Added category.) |
|||
| (2 intermediate revisions by the same user not shown) | |||
| Line 1: | Line 1: | ||
| − | Here's an example of building a panel like you find in the center console of the Space Shuttle, where the toggle switches are recessed so they won't get kicked by stepping on the panel. You'll notice that where multiple switches share a recess, there is a guard wire between each switch. | + | Here's an example of building a panel like you find in the center console of the [[Space Transportation System (STS)|Space Shuttle]], where the toggle switches are recessed so they won't get kicked by stepping on the panel. You'll notice that where multiple switches share a recess, there is a guard wire between each switch. |
Step 1. Create your Layout | Step 1. Create your Layout | ||
| Line 32: | Line 32: | ||
[[Image:RecessPanel5.png]] | [[Image:RecessPanel5.png]] | ||
| + | |||
| + | [[Category: Articles]] | ||
| + | [[Category: Tutorials]] | ||
Latest revision as of 12:20, 13 October 2022
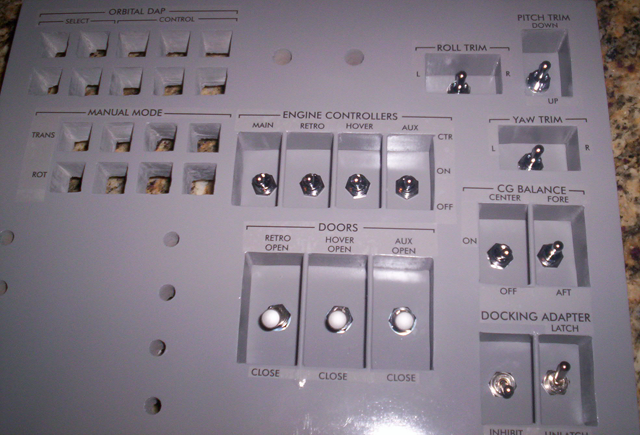
Here's an example of building a panel like you find in the center console of the Space Shuttle, where the toggle switches are recessed so they won't get kicked by stepping on the panel. You'll notice that where multiple switches share a recess, there is a guard wire between each switch.
Step 1. Create your Layout
Step 2. Glue two pieces of MDF together to create a 1" thick panel
Step 3. Transfer the layout to the panel for fabrication
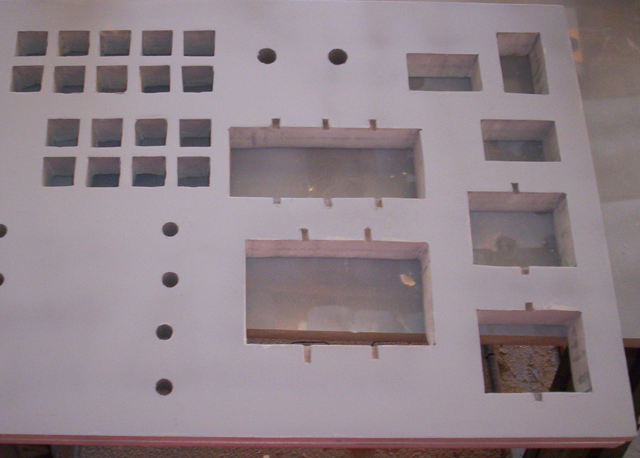
Step 4. Make the recesses. Drill Holes in the panel where the recesses are to be, then using a jigsaw, make the recesses the needed rectangular shape. You can also use a sharp chisel to make or clean up the holes.
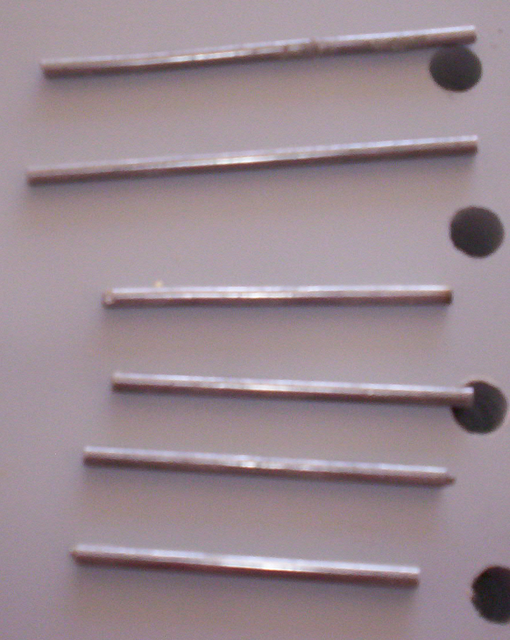
Step 5. Create the switch guards. Cut some 1/8" steel rod to length, making them about 1/2" longer than the recess. I suggest using a hand saw or cutoff tool rather than a jigsaw, as the jigsaw can bend the rod as it cuts through and its extra work to straighten them again.
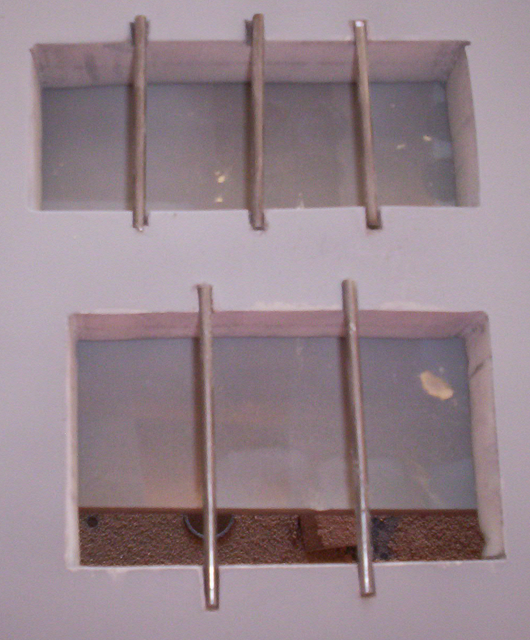
Step 6. Using a small chisel, create holes for the steel rod to fit into so that the top will be flush with the top of the panel.
Step 7. Glue the guards to the panel using a multi substrate glue like epoxy or Gorilla (tm) glue.
Step 8. Sand everything smooth, prime and paint.
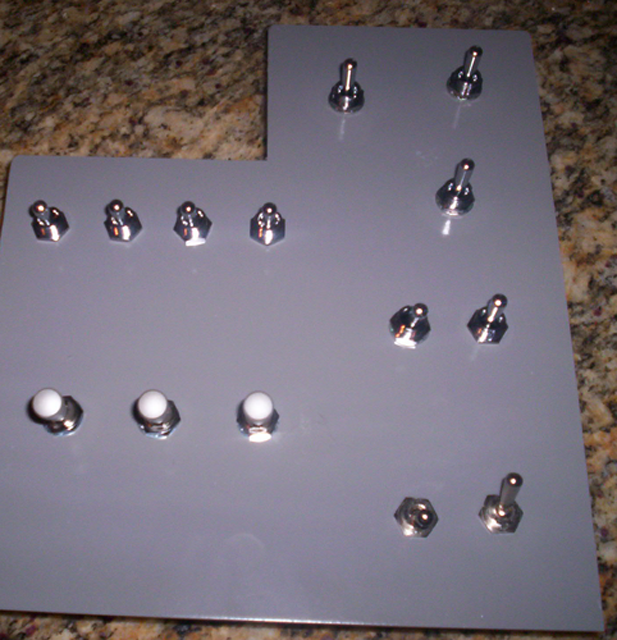
Step 9. Cut out a back plate to mount the switches to, e.g. aluminum. Sand, prime and paint, then mount the switches.
Step 10. Place the switch panel underneath the recess panel, aligning the switches so they are centered. Fasten the back plate to the panel with screws.
Step 11. Add labeling and wiring.
